Attach Receipts
In SutiExpense, you can attach receipts to a line item by importing them from a receipt library - 'My Receipts.' To store receipts in this library, you will have to send them to your registered email address or your secondary email address and send to receipts@sutisoft.com account. You can also upload receipts directly from your computer.
To Attach Receipts
- On the Expenses menu, click Drafts.
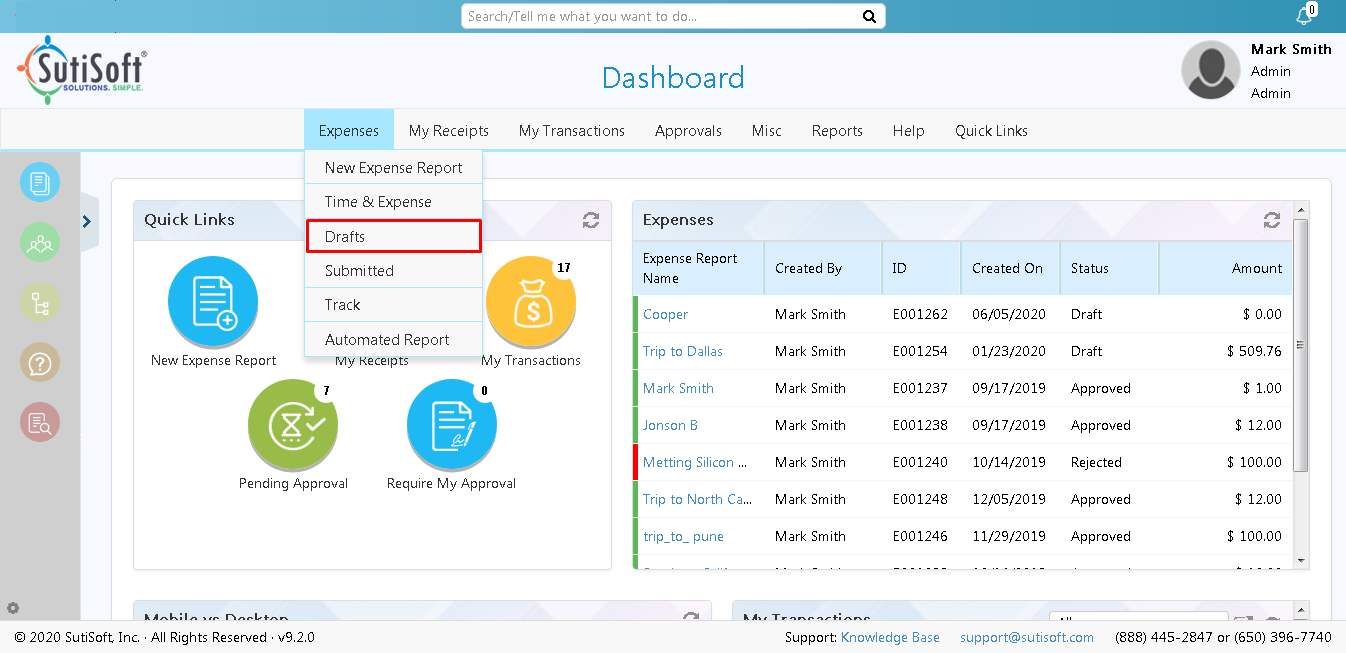
- The Drafts page appears displaying the list of expense reports which have been created but not yet sent for approval.
- Click on the particular expense report name or on the
 icon.
icon.
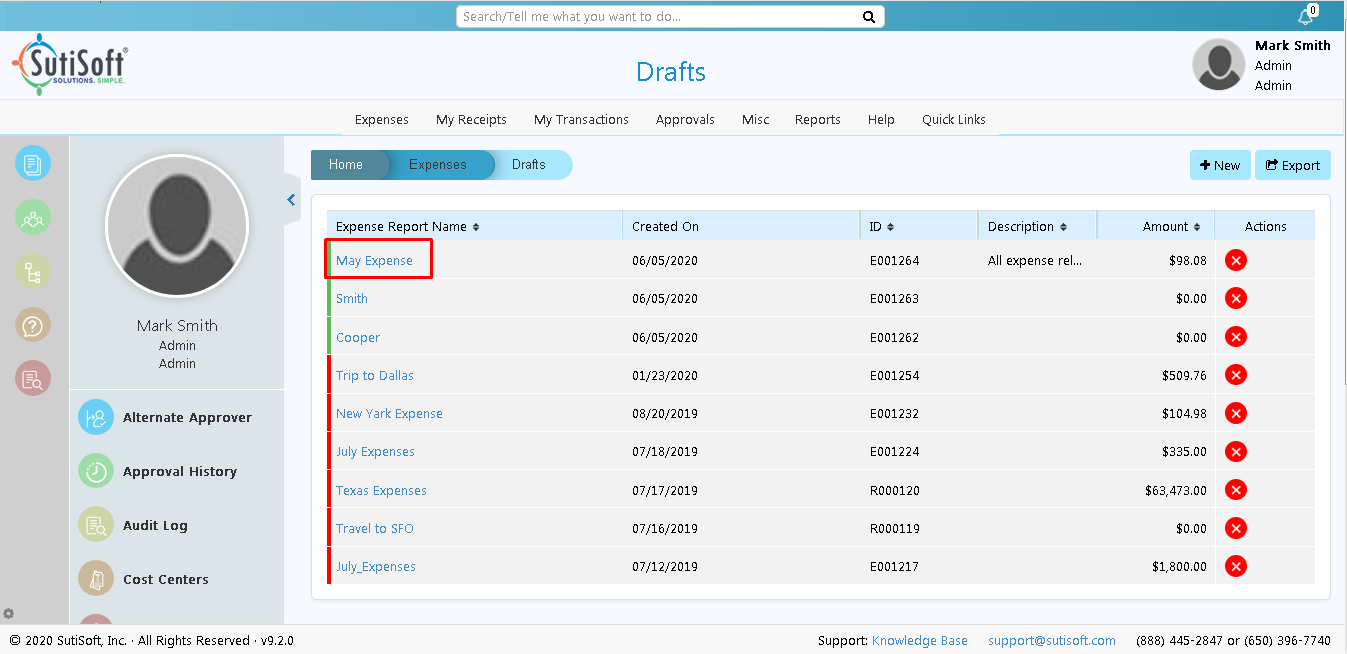
- The Expense Report screen appears displaying the list of expense line items added to it.
- Click on a particular
 icon.
Note: If a line item contains
icon.
Note: If a line item contains icon, it represents that a receipt has already been attached to it. To attach receipt, you can also drag and drop receipt on the right to the particular line item on the left.
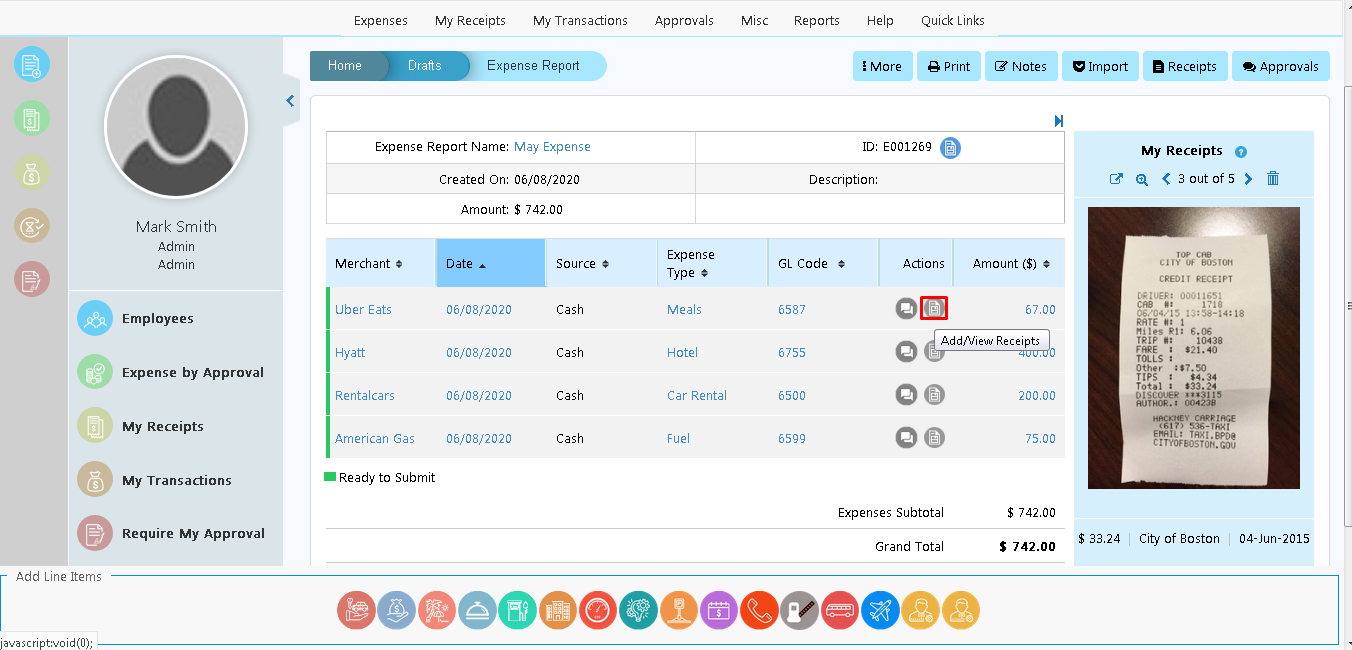
- An Update [Line Item] Expense Details window appears.
Note: Line item refers to the expense name.
- You can use the Browse button to upload receipts from your computer.
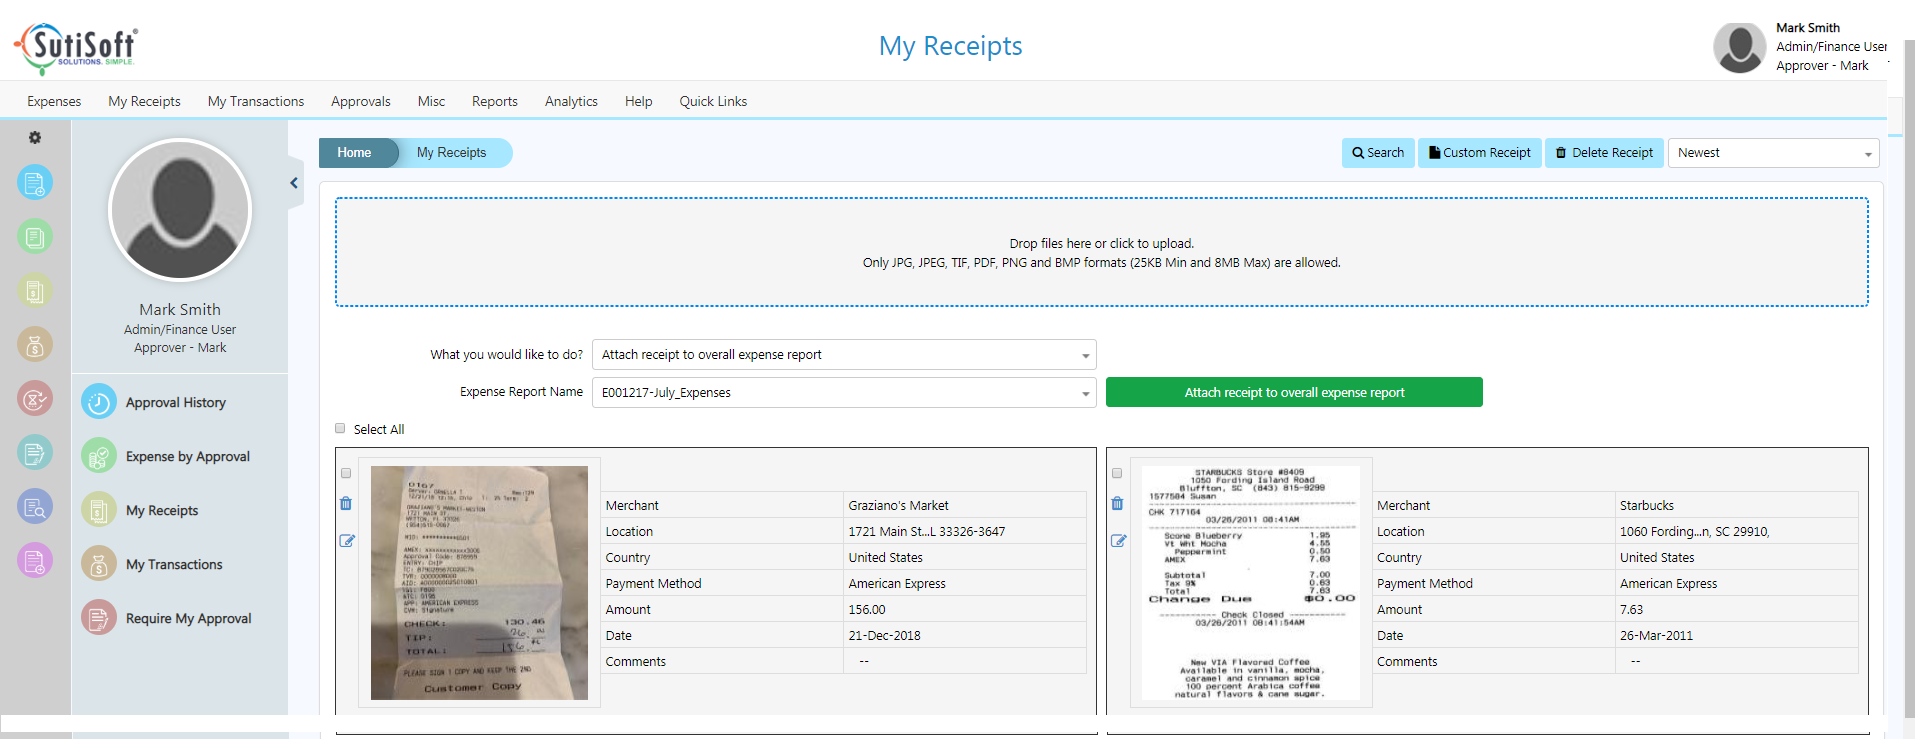
Import Receipts from the Receipt Library
- Click My Receipts link.
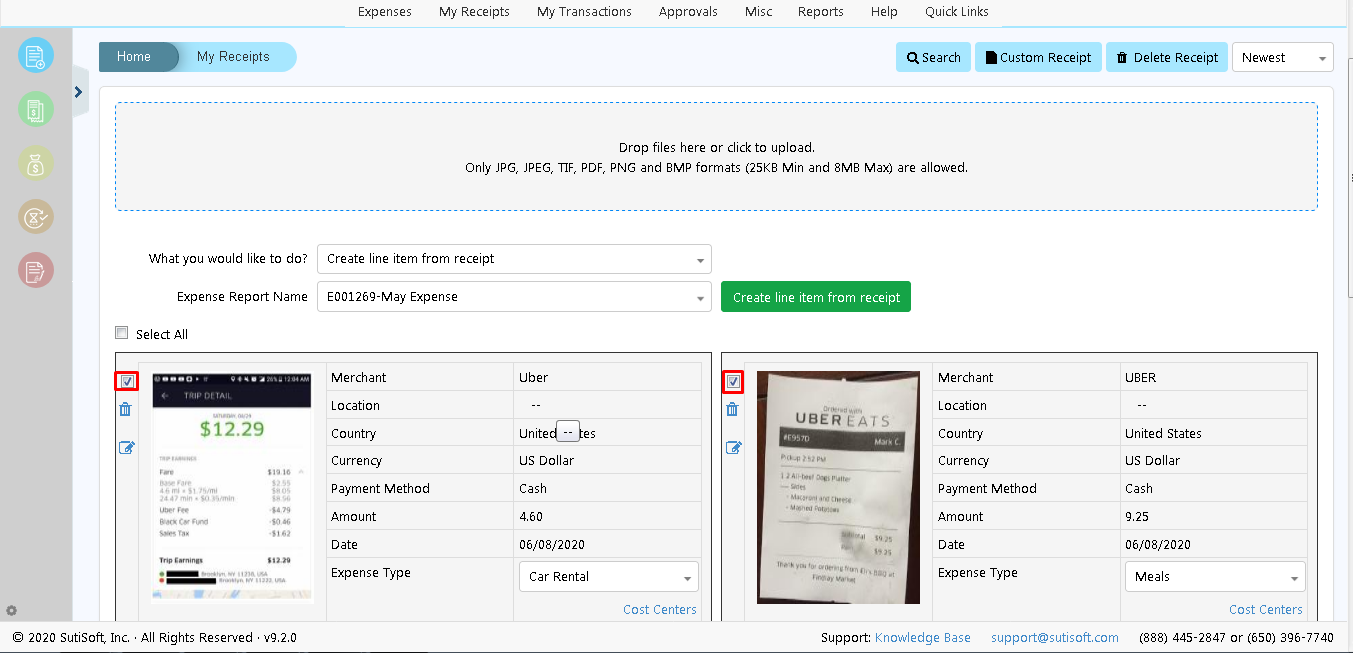
- My Receipts page appears displaying receipts from the library.
- Select either attach receipt to an overall expense report, to a line item or create line item from the receipt.
- Select the action you want to perform. For instance, select receipt(s) and the expense report from the dropdown and then click Attach receipt to overall expense report to get the receipt attached to an expense report.
- Click
 icon on the actions bar.
 - A Create Custom Receipt pop-up will appear.
- Enter the required details and then click Save button.
- Select a receipt and then Click
 icon on the actions bar.
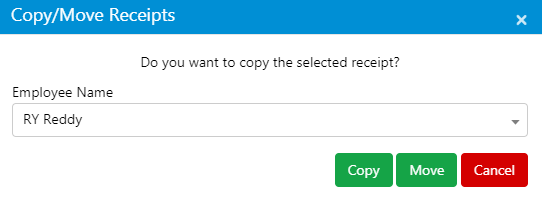
 - A Copy/Move Receipts pop-up will appear.
- Select the employee name from the dropdown and then click on Copy or Move buttons.
Note: Users can drag and drop receipts onto repository directly from their computer.Create Custom Receipt
To create Custom Receipt:
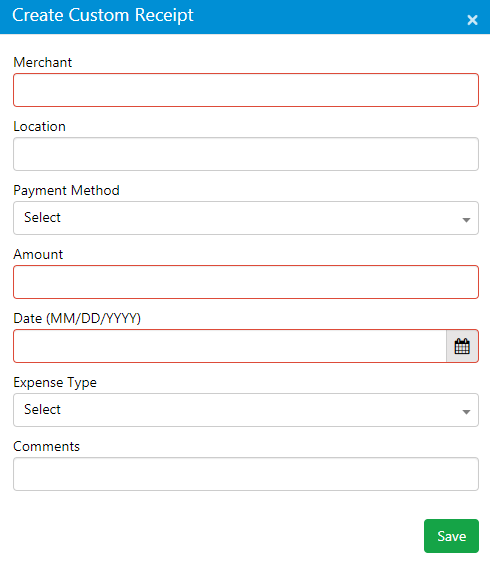
Note: Fields highlighted in red are mandatory.
Copy/Move Receipts
To copy/move receipts:
- Click My Receipts link.